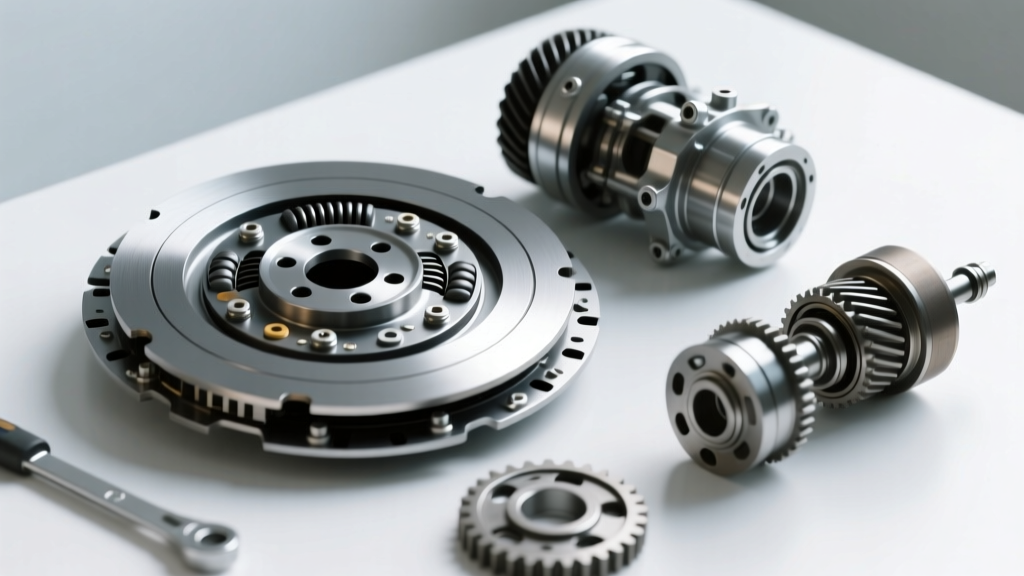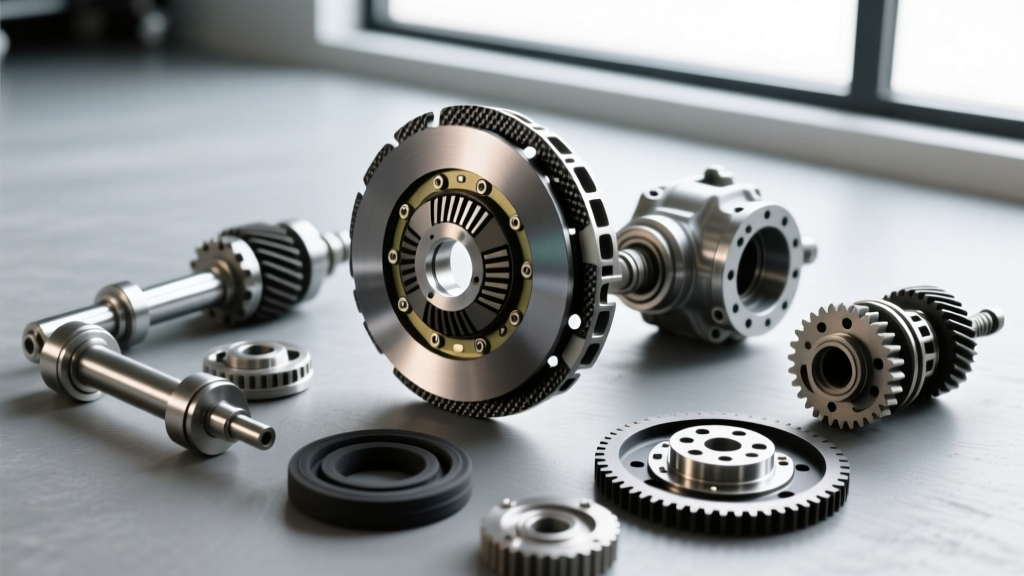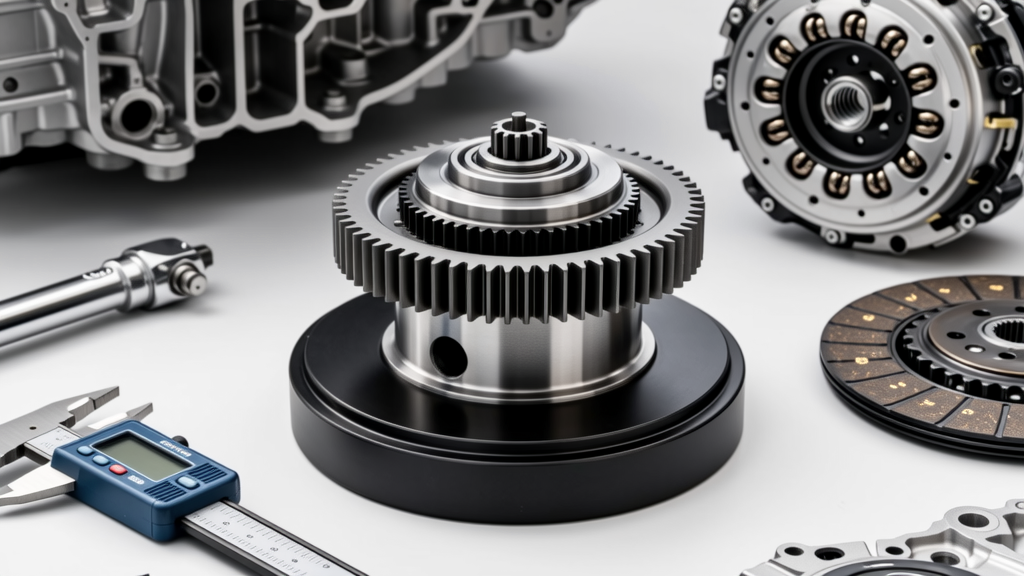
A flywheel checklist protects clutch replacement from hidden failures because the flywheel is the mating surface for the clutch disc and the starter engagement gear. Before installing a new clutch from LUK, Exedy, Sachs, Valeo, or ZF, inspect friction surface thickness, heat checking, cracks, runout, bolt holes, dowel pins, and ring gear condition. For dual mass flywheels, check damper windows, free travel, grease loss, and rattles. Also verify pilot bearing clearance, torque specifications, and dowel pin alignment. This checklist helps decide whether to clean, resurface, or replace the flywheel, and it prevents costly comebacks when a worn surface or warped casting causes chatter, slipping, or starter damage.
Why the Flywheel Belongs on Every Clutch Job
From years of clutch shop work, I have seen more comebacks caused by overlooked flywheel condition than by defective friction material. A clutch disc can be brand new and still chatter if the flywheel face has a low spot, a blue heat mark, or a ring gear tooth that is chewed. The checklist is not a formality; it is a sequence that keeps the technician from skipping the exact checks that separate a good repair from a repeat visit.
Use the checklist in the order shown. Clean first, then inspect visually, then measure, then decide, then torque and recheck. The order matters because grease, clutch dust, and rust can hide cracks, and because a warped flywheel can be misdiagnosed as a new clutch problem if runout is never measured.
Safety, Cleanliness, and Pre Inspection Prep
Start with safety and cleanliness. A flywheel is heavy, and a cracked or dropped flywheel can cause serious injury. Wear gloves and eye protection, use a proper flywheel holder, and support the crankshaft when removing bolts. On automatic vehicles, confirm whether the flywheel is an adapter plate or flexplate and inspect flexplate bolts for cracks around the torque converter stud holes.
- Disconnect battery and relieve starter load.
- Use a flywheel holding tool such as a South Bend or ACT style lock, or a sturdy bar if clearance allows.
- Clean the flywheel face with a degreaser approved for friction surfaces.
- Remove dowel pins carefully to avoid damaging the crankshaft bore.
- Mark bolt holes and ring gear orientation if the flywheel will be resurfaced.
- Check the bellhousing mating surface for nicks, rust, and old sealant.
- Inspect the pilot bearing or bushing before deciding to reuse it.
- Verify transmission input shaft end play and bearing condition.
- Record OEM torque values for flywheel bolts and pressure plate bolts.
Do not skip pilot bearing clearance. Many shops replace the clutch and flywheel, then reuse a tired pilot bearing. A worn pilot bearing allows the input shaft to wander, which produces gear noise, clutch drag, and false flywheel symptoms. For a solid bearing, check the bore with a gauge; a typical clearance over 0.0015 inch, or about 0.04 mm, is often suspect.
Visual and Surface Inspection Checklist
The visual pass is where most technicians catch heat damage. Look under bright light and use a magnifier on suspect areas. The friction surface should be uniform, dark gray, and free of blue or purple discoloration. Light glazing can be cleaned, but heavy heat checking means the surface has changed metallurgically or developed micro cracks.
Friction Surface Condition
Check the surface where the clutch disc contacts. A single mass flywheel friction ring is often 8 mm to 12 mm thick on common passenger vehicles. If the measured thickness is below the OEM minimum, or if a resurfacing pass would cut below the minimum, replace the flywheel. Do not assume a 0.05 mm cut is harmless. On a thin ring, repeated machining can leave less than 0.5 mm of friction material attached to the carrier.
Look for hot spots, especially near the bolt pattern and the outer edge. A flywheel that has been slipping will show localized blue coloration, and the area around the starter ring gear may show chew marks. Use a straightedge to check for a proud or low spot. If a straightedge rocks, the face is distorted.
Ring Gear and Starter Interface
Inspect the starter ring gear tooth by tooth. Run a finger across teeth, not sharp edges? Use a light. Check for mushroomed tips, missing teeth, chipped teeth, and a flat spot where the starter pinion slid. Ring gear tip runout over 0.10 mm, or about 0.004 inch, can cause starter noise and premature tooth damage. If the ring gear is press fit, check for looseness by tapping it with a brass punch; movement is a reject.
Dual Mass Flywheel Damper Check
For dual mass flywheels from Sachs, LUK, Valeo, or ZF, visual inspection is only part of the job. Check the damper windows for grease leakage, metal flakes, and broken spring tabs. Rotate the flywheel and feel for free travel. Typical free travel on many passenger car dual mass flywheels is 0.05 mm to 0.15 mm, but OEM limits vary. If you hear a distinct clunk or see spring contact marks, replace the flywheel.
Do not attempt to resurface a dual mass flywheel unless the design is specifically a serviceable friction ring and the carrier is sound. Most modern dual mass flywheels are not machined. A warped secondary mass or worn damper cannot be corrected by facing.
Measurements That Decide Reuse, Resurfacing, or Replacement
Measurements separate opinion from repair. Use a micrometer, dial indicator, bore gauge, and torque wrench. A flywheel face that looks acceptable can still be rejected because it exceeds runout. A face that is slightly warped can make a new disc chatter. Record readings before and after machining so the technician can prove the part meets limits.
| Checkpoint | Typical measurement | Action |
|---|---|---|
| Single mass flywheel friction thickness | 8.0 mm to 12.0 mm; minimum often 6.0 mm | Replace if below minimum or if machining cuts below minimum |
| Face runout | 0.02 mm to 0.05 mm typical limit | Resurface if within thickness; replace if warped or cracked |
| Ring gear tooth runout | 0.05 mm to 0.10 mm typical limit | Replace or refit ring gear if starter contact is excessive |
| Pilot bearing bore clearance | 0.01 mm to 0.03 mm common service range | Replace bearing if over 0.04 mm or input shaft wanders |
| Bolt hole diameter | 10.0 mm to 12.5 mm depending on M8, M10, M12 pattern | Replace if elongated, cracked, or threads are damaged |
| Dowel pin condition | 0.01 mm to 0.02 mm alignment fit | Replace pins if worn, galled, or missing chamfer |
| Dual mass flywheel free travel | 0.05 mm to 0.15 mm on many road vehicles | Replace if clunking, grease loss, or spring contact marks appear |
Use the table as a shop baseline, not as a substitute for OEM data. Heavy duty diesel flywheels from Cummins, Isuzu, or Ford Powerstroke applications often have thicker friction rings and higher torque values than passenger car parts. A performance flywheel from ACT, Fidanza, or South Bend may have a different bolt pattern, dowel alignment, and minimum thickness, so measure the unit you have.
When using a dial indicator, mount the flywheel on the crankshaft or a clean bench fixture. Measure face runout at the outer edge and near the bolt circle. If the casting has a lip, a slight surface irregularity may be normal, but a rock that exceeds 0.05 mm is worth correcting or replacing. On a machined surface, always confirm that the indicator tip is not riding on a burr.
Resurface or Replace Decision Checklist
Resurfacing is not always the right answer. A skilled shop can face a solid single mass flywheel if the friction ring is thick enough, the casting is clean, and the machine can hold the part without distorting it. A replacement is safer when the flywheel has cracks, heat checking, thin friction material, a loose ring gear, or a dual mass damper that is failing.
- Clean the flywheel and remove all old pressure plate bolts, dowels, and ring gear fragments.
- Inspect for cracks around bolt holes, dowel pins, and the friction ring edge.
- Measure friction thickness before machining.
- Check face runout and ring gear runout.
- Confirm the flywheel has a serviceable friction ring and not an integral clutch carrier.
- Machinist checks for heat checking, warpage, and bolt hole distortion.
- After facing, measure thickness again and confirm minimum OEM value.
- Replace the flywheel if any crack, loose ring gear, or dual mass failure exists.
Do not resurface a flywheel with a pressed friction ring if the ring has heat checking. Heat checking can be surface only, but it often indicates the ring has lost temper. If a machine shop says the ring is too thin to face, believe it. A new flywheel is cheaper than a clutch comeback.
When to Choose a New Single Mass Flywheel
Choose a new single mass flywheel when the part is below minimum thickness, when the ring gear is damaged, when the friction ring has blue discoloration, or when the customer wants the lowest comeback risk. Brands such as LUK, Sachs, Valeo, Exedy, and ZF supply complete flywheel packages for many applications. On a high mileage diesel or a vehicle with a clutch that slipped badly, replacement is often the correct call.
When Resurfacing Can Be Acceptable
Resurfacing can be acceptable on a light duty gasoline flywheel with adequate thickness, no cracks, and a sound ring gear. A clean face with minor glazing can be machined to a fresh surface. This is common on budget repairs where the original flywheel is a robust casting. Still, record the before and after thickness, and use a machine that can hold the flywheel without introducing runout.
Bolt Pattern, Torque, and Alignment Checklist
Alignment and torque are the final gatekeepers. Many flywheel problems are created at installation, not at inspection. Use the correct bolts. Do not substitute a standard grade bolt for a factory torque to yield or high strength bolt. Cracked flywheel bolt holes are often the result of over torque, cross threading, or an impact gun used without a flywheel holder.
- Verify the bolt pattern and dowel pin orientation before mating the flywheel.
- Clean threads and apply the OEM thread lubricant if specified.
- Hand start all bolts and seat the flywheel evenly.
- Use a calibrated torque wrench and follow the OEM sequence.
- For M8 flywheel bolts, typical torque is 22 Nm to 28 Nm, but confirm OEM.
- For M10 bolts, typical torque is 45 Nm to 65 Nm on many passenger cars.
- For M12 bolts, typical torque is 80 Nm to 110 Nm on diesel and heavy duty units.
- Recheck torque after the first heat cycle if the service manual allows.
Do not use a breaker bar on flywheel bolts unless you know the crankshaft support and bolt grade. A sudden impact can crack the casting or elongate a bolt hole. On a dual mass flywheel, the bolts may be shorter and more sensitive to cross threading than a single mass unit, so hand start each thread.
Common Failure Patterns by Application
Failure patterns help you know what to expect. On economy front wheel drive cars, a worn single mass flywheel often shows uniform glazing and a slightly reduced friction thickness. On turbocharged diesel pickups and vans, look for heat checking near the starter ring gear and cracked bolt holes from high torque pulses. On performance vehicles, check for fretting marks where the disc clamps and for starter ring gear damage from a high compression crank.
On Toyota and Honda gasoline engines, flywheels are often forgiving if not overheated, but the ring gear can suffer from repeated starter abuse. On Ford and GM V8 applications, check the friction surface near the bolt circle for cracks caused by torque pulses. On European diesels using Sachs or LUK dual mass flywheels, the damper is the weak point, not the facing.
On vehicles with a starter engaging a ring gear mounted to a flexible adapter, inspect the adapter for cracks at the torque converter or flywheel interface. A cracked flexplate can mimic a flywheel issue. On a manual with a pilot bearing, gear noise after installation often points to alignment or pilot bearing wear, not the clutch disc.
Final Handover and Quality Control
Before the car leaves, close the checklist. Confirm that the flywheel face is clean, the ring gear teeth are intact, the bolt torque matches the manual, the dowel pins are correct, and the pilot bearing is new or measured. If the flywheel was resurfaced, verify the final thickness and runout. If the flywheel was replaced, compare the new part to the old one for dowel position, ring gear tooth count, and bolt pattern.
A good flywheel checklist also documents what was done. Record the part number, brand, measured thickness, torque values, and any dual mass flywheel free travel reading. This protects the shop and helps the next technician. If a customer complains of chatter after 500 miles, a recorded 0.03 mm runout reading is more useful than a verbal memory.
Also check the clutch release bearing and fork while the transmission is out. A dry fork or worn release bearing can create noise that sounds like a flywheel issue. Lubricate only the points named in the manual. If the bearing is ceramic or sealed, do not soak it in solvent.
For a vehicle with a hydraulic slave cylinder, confirm the fluid condition and bleed the system before road testing. Air in the line can cause incomplete release, which may be blamed on the flywheel or disc. A short test drive followed by a recheck of torque and noise completes the checklist.
Finally, teach the customer what the flywheel does. It stores inertia, aligns the input shaft through the pilot bearing, and gives the starter a toothed surface to turn the engine. A clutch job that ignores the flywheel is only half finished. Use this checklist every time, and the repair will be repeatable, measurable, and far less likely to come back.